Pages

Showing posts with label birthday card. Show all posts

Saturday, June 6, 2015

happy birthday dude

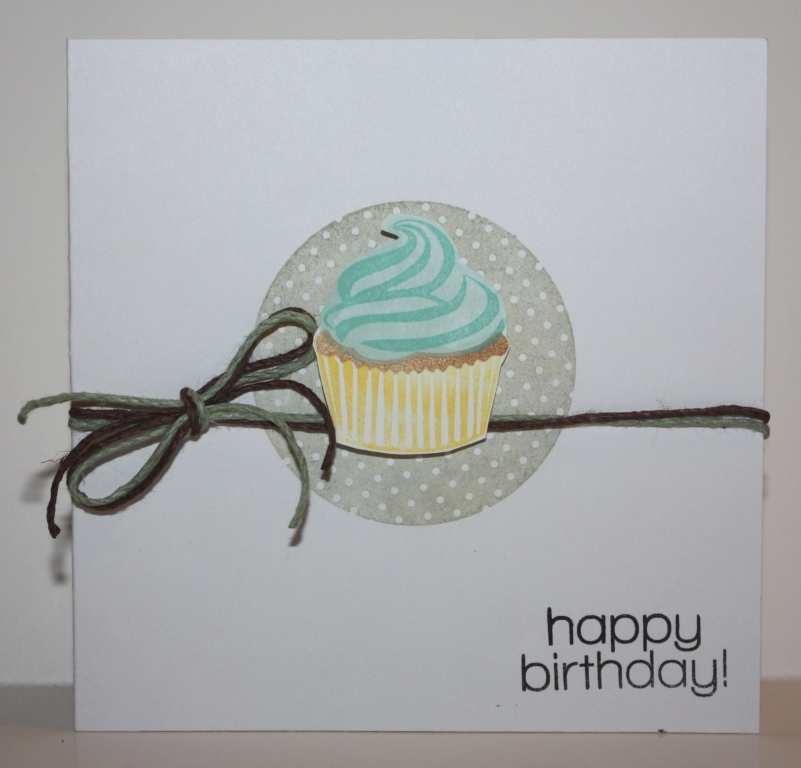
I needed a quick birthday card for a party my son's going to.


I used a couple Simon Says Stamp sets (Cupcake Party and Dude) and some scraps of paper to layer everything. I think it looks just masculine enough. And it's for a boy. Who will probably look at it for all of 0.6 seconds. So no stress. But it was still fun to make.

Have a great weekend!

I'm linking up to Simon Says Stamp's Wednesday Challenge -  Make it Masculine

Sunday, May 31, 2015

Dr. Who-themed gifts

My son is such big Dr. Who fan so I couldn't help but make a couple projects for his birthday last week! 

First was a Doctor-inspired birthday card. I made a similar card at my monthly card class so I used it as a pattern to make one that looked very Dr. Who like. You can't see it too well but I took brown cardstock and stamped a tweed-like stamp on it for texture. 


Then I took a plain black journal I found and turned it into this TARDIS journal just like River Song carries. My son has been journaling in it every day since I gave it to him!

I designed a cut file and used lots of blue paint! I'll be making a second journal for my other son so stay tuned for a quick tutorial in a few days.

Another fun gift to include would be one of these pens-turned-sonic screwdrivers. 
Cheap pens + oven-bake clay= sonic screwdrivers!
Sonic Screwdriver craft made with clay and a pen. Dr. Who week on Doodlecraft blog
I found this craft on Pinterest (https://www.pinterest.com/pin/223913412700147905/) 
We've actually made very many of these and I was going to add some to my photo but ours are so heavily used that they are just too dirty for photos! It is an easy, inexpensive and kid-friendly craft. Follow her directions and use the pens she suggests and you'll have some very happy whovian kiddos. Even if you are not Dr. Who fans you can still make Harry Potter wands or Star Wars light sabers maybe!


Linking up to:
The Paper Girls Challenge blog Father's Day/Masculine projects
Simon Says Stamp Anything Goes

Tuesday, April 7, 2015

happy birthday

One of my favorite ways to use up the oodles of paper I have is making a layered card like this:

I watercolored a background panel and dropped some black ink.
I stamped, fussy cut and popped up a cupcake from this Simon Says Stamp birthday stamp set. I pulled some paper in the favorite colors of the recipient and layered everything on to my kraft card base. Yum. I just want to eat that little cupcake!

I'm linking up to:
Simon Says Stamp's Birthday Challenge


Monday, March 16, 2015

Dragonfly birthday card

I have a friend who loves dragonflies so I ordered this cool Clearly Besotted dragonfly die just so I could make her a card! The die has 2 parts, a solid and an open intricate shape.

I cut the solid shape out of some paper I had put a watercolor wash on. The top layer was cut out of vellum. I layered the two pieces and connected them with 2 black brads.

The mat for the dragonfly was made using a piece of canvas, some stencils, and spray inks. Then I layered wax paper over it. Yep. Wax paper. From my kitchen. It was just more translucent than the vellum I had and I wanted to be able to see the stenciled work better.

My sentiment was stamped onto vellum and stapled on. And everything was layered with kraft woodgrain paper and aqua cardstock over a grey card base.


I'm linking up to:
 Simon Says Stamp's Things That Fly challenge
Virginia's View All Things Embossed Challenge
Jot Magazine March Mood Board

Thanks for stopping by and have a great day!


Supplies:
Clearly Besotted Dragonfly die
Woodgrain embossing folder from Stampin' Up
Kaleidoscope and Moroccan Tiles, Ronda Palazzari stencils from The Crafter's Workshop

Shake it!

We are making shaker cards over at The Paper Girls Challenge blog. Since my Cricut stopped working I was limited to the dies I had on hand. I've discovered I "need" more dies :)  

I decided to use some circle dies and turn them into balloons. And I used this fun stamp set to make the balloon strings.


The balloons are filled with several kinds of pink and white fine and chunk glitters.


 For the sentiment I used two different pink inks to create an ombre look. 


Thanks for stopping by. I hope you can share a shaker card of your own too.
Have a great day!

I'm linking up to Simon Says Stamp's Things That Fly Challenge.
Because technically these balloons would fly away if let go. ;) Right?!?

Supplies:
Handwritten Borders stamp set from Simon Says Stamp
Cupcake Party stamp set from Simon Says Stamp
Circle Dies from Crafter's Companion
Worn Lipstick Distress Ink
Rose Madder Ranger Archival Ink

Monday, August 18, 2014

a happy birthday card

Over at The Paper Girls Challenge blog Jessica is letting us design our own challenge!

Here is my card:

For the challenge Jessica wants us to select 3 of the following:
I chose to make a card, to do something messy (used watercolor and spray ink), and use washi.


Pop on over and play along in the challenge with us!

Thanks for stopping by today!


Wednesday, July 9, 2014

finally. some crafting.

I haven't crafted in so long it's driving me crazy. We were just on the road for 12 days traveling from Washington to Colorado for two family reunions and some vacation time. I packed a small craft bag with some supplies but still didn't get around to doing much. I'm hoping to spend the next several days crafting up a storm! Or at least sorting and printing the over 500 photos I took and getting some scrapbooking done. :)


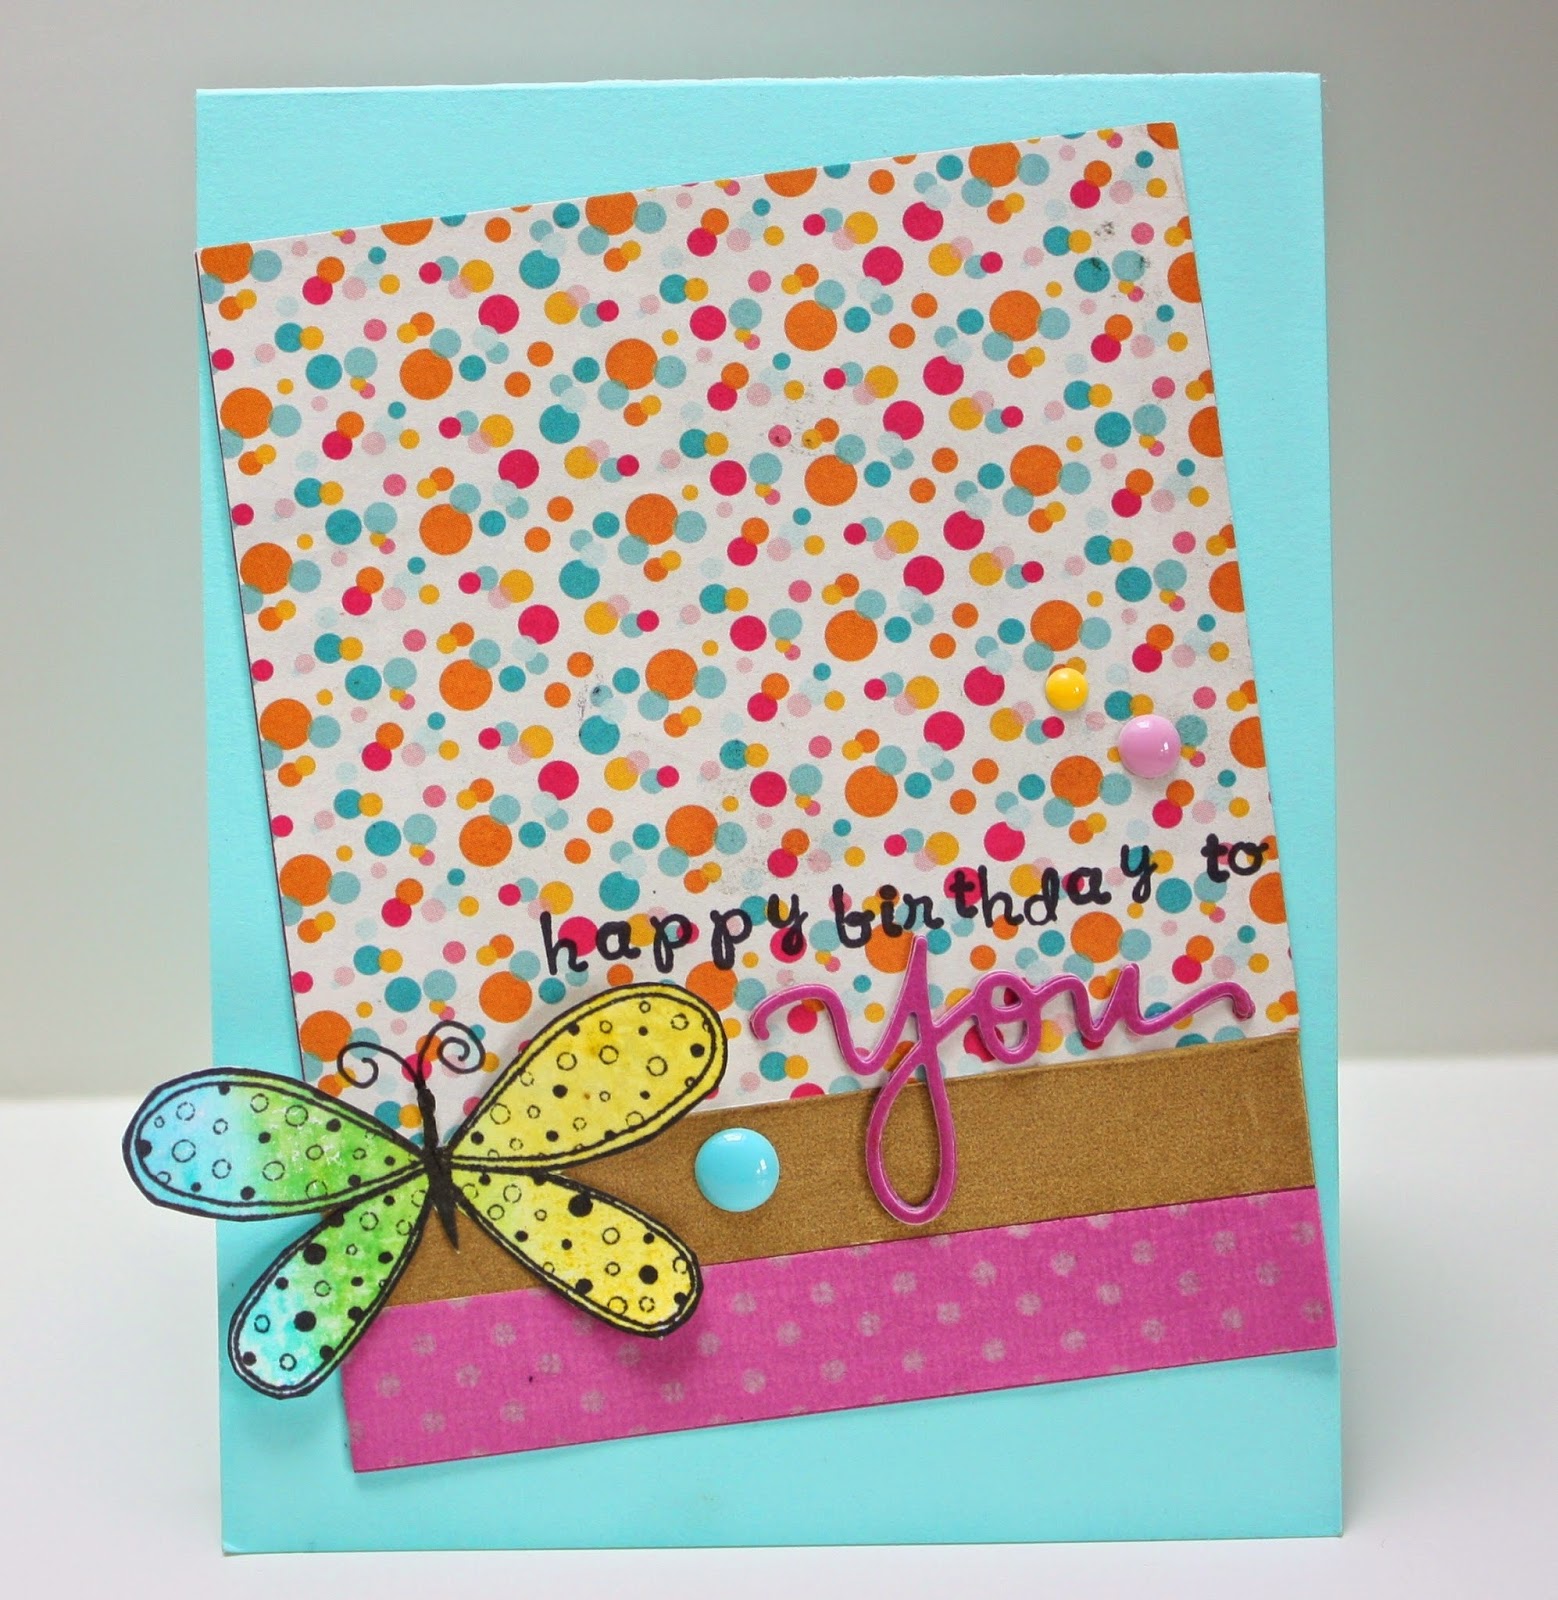
My little niece is turning 7 so I needed a quick card to mail her and this is what I came up with:

I was browsing my Pinterest Card Ideas board for an idea and I saw this card from Miss Fabulous herself, Tenia and decided to CASE it.

(you know...now that I look at it I realize I didn't just use it for inspiration, I flat out stole the design. sorry girl )

 I love this "you" die from Simon Says Stamp. I cut it four times and layered it up.
 The butterfly is from Unity's Devoted stamp set. 
That is gold washi tape running under the butterfly but it's a little hard to tell inn the light.


I'm linking up to:
Moxie Fab World Challenge: Wonderful Words Challenge to use a word die
Unity Stamps {be Inspired} monthly color challenge
Virginia's View to use a die
Curtain Call Inspiration Challenge: Birthday Bash photo inspiration

Thanks for stopping by today!
Have a great day!

Friday, August 2, 2013

happy birthday!

These little beauties were made with the Simon Says Stamp Card Kit for July.
 I kept them nice and simple. Stamped the background and then added the cupcakes. The cupcakes took a little time. It is a 4-step process to stamp these things. See stamp here.
I just fussy-cut them and added them with foam adhesive.
Another color variation:
 I made about a dozen of these to have on hand. I thought they would work great for an adult or a kid's birthday.
 
I'm linking up to the Simon Says Wednesday Challenge of Anything Goes.
 
Thanks for stopping by today!


Monday, July 23, 2012

Paper Girls Challenge #12

Charity is the host of challenge #12 at The Paper Girls Challenge.
She challenged us to use a mesh bag (what you get when you buy a big bag of apples or onions) on our creation. 


Can you find the mesh on my card? Well, technically it's not on the card. BUT - I did use the mesh as a mask to create my pink background! I used repositionable spray adhesive to attach the mesh to my card front. Then I misted some pink spray and then removed the mesh leaving a white pattern.


This card is for my 5-year-old niece so I decided to use this cute little stamp from Crafter's Companion from their Swalk collection. I colored her in with watercolor pencils and I made a bouquet of 5 flowers popped up with foam. The stem is just a skewer painted green. I had actually wanted to add some stick pin banners but it didn't fit well so I decided to turn it into a bouqet instead.


I wish the lighting was better when I took these photos - the colors look so washed out online. Oh well!

Please stop by and play with us at The Paper Girls Challenge blog! We always have a fun crafty prize to give away!

I'm entering this into Crafter's Companion current challenge which is Anything Goes.

Thanks for stopping by today!


Supplies:
Crafter's Companion S.w.a.l.k Thank You stamp set
Stampin Up watercolor pencils
Sakura white Glaze pen
My Little Shoebox letter stickers
Stampin Up pastels

Wednesday, July 11, 2012

Happy Birthday

Hello stampers! Today for my SP & Co DT post I've got  a little birthday card I made using the new Boutique Sign mini stamp set that was just released.

I started by inking my vanilla cardbase with brown ink.
Then I sprayed a doily pink and red.
I inked up a tag with brown distress ink.
I embossed the sign and hanger with metallic copper.
The sign is fussy cut from white cardstock.
The patterned papers are from EP So Happy Together (which was part of the June SP monthly kit and is SOOO cute).

The sentiment is from Bold Sentiments III: Birthdays.

Then I embellished with red and pink twine and a couple buttons.

 
I'm entering this into Stamping Sisters in Christ's recipe challenge to use at least 1 round or oval element (the doily, check), at least 2 different papers (check), and at least 1 embellishment (twine and buttons, check!)


Thanks for stopping by today!


Supplies:
SU Very Vanilla Cardstock
Wilton doily
Tag from Unity
Papers: EP So Happy Together
Pick Your Plum twine
Basic Grey buttons
SP and Company Boutique Sign mini stamp set
Zing Metallic Copper embossing powder
Versamark watermark ink
SU Early Espresso ink
Tim Holtz Old Paper and Gathered Twigs Distress inks
Tattered Angels Mel's Diner and Pink Cadillac sprays


Wednesday, May 9, 2012

SP and Company Orange Blog Hop and New Release

This month's color is Orange! After you're done hopping around today, make sure you play along with this month's Orange challenge (click here for details) for a chance to win some awesome SP and Company prizes!


Join us for our Release Celebration that is happening today and tomorrow on the SP Forum HERE.  You can talk to all of the designers, discuss projects and chit chat with other stampers!It's a blast and you don't want to miss out!


Don't forget that the random prize patrol is watching so leave a comment on every blog to be eligible for the prizes!! The more blogs you comment on, the better your chances are of winning something fun! Our GRAND PRIZE this month is one month in the SP 6x6 Stamping Kit Club! The grand prize winner will receive a newly released 6x6 paper pad from Echo Park + a newly released SP & Co stamp set as their kit.

~~~~~~~~~~~~~~~~~~~~~~~~
Here are the projects I made for our blog hop. I didn't realize how much I liked orange until I started playing around!

This first one uses the Even Bolder Sentiments: Many Thanks set. The stamp is so big I didn't need much else on the card other than the fussy-cut flowers!

 And the rest of my cards use Bold Sentiments III: Birthdays. There are thirteen big and bold sentiments in this set!

washi tape candles:


This last one also uses Echo Park's Birthday Boy Baners paper. I love cutting out those fun banners to add to projects. I thought it could also use some confetti, but now I think the paper looks like it has chicken pox!

This set has so many fun stamps that I just wanted to keep going and use them all up! But I stopped myself after three. I'm sure you'll be seeing much more of this set in the future!
Thanks for stopping by!!
~~~~~~~~~~~~~~~~~~~~~~~~
 
 
Make sure you check out the SP Blog to see what Samantha did with the new stamps! And don't forget to hop around to each Design Team Member's blog - there are brand new projects with the stamps that came out TODAY to inspire you!


Here is the list of designers that will inspire you today:


Amber {you are here!}


Wednesday, April 11, 2012

Happy Birthday!

As I was looking at the new SP& Company mini stamp set Father's Day Fun I noticed that I really liked the way the corner of the mustache curved up. So I played around with it trying to create a fun pattern. Here's what I ended up with.


I also used the dot and circle from All Zipped Up which are meant to be the grommets on the pocket. First, I stamped alternating rows of the mustache in green. A row of upside down and then a right-side up row. Just stamp until your card base is filled up. Ideally you won't be traveling like I was. I was working on my score board on a bed while my 2-year-old was jumping on the bed! I really miss my craft desk! But the imperfections just add character right?? ; )


After the green mustaches, I stamped the solid circle from All Zipped up in turquoise in between every other mustache.


Then I used the ring and stamped that in a slightly lighter blue in the other spaces. And that's my background for the card.


Then I grabbed some papers from the Echo Park Birthday Boy Mini Kit and cut a strip from the Stripe Paper. I used the back side which is blue with stars and adhered it toward the bottom of the card. Then I cut out a cupcake from the Journaling Paper and stamped Happy Birthday from All Zipped Up (while 2-year-old is still jumping!). Then some green and turquoise twine finish it all up.

Thanks for stopping by today. I hope I inspired you to look at your stamps in a fun and new way!

For more ideas visit the SP Stamps blog for daily inspiration!

Saturday, January 14, 2012

filled with LOVE

I've got a double challenge entry today.
First is Unity's January KOM challenge using this sketch:

And the second is a Pinterest-Inspired Challenge at the Sketches4All group using this photo:

So using Unity's  December Kit of the Month I came up with this card:


I stamped and fussy cut the jar and filled it with punched hearts.
Then I inked a doily and wrapped it with red twine.
I created the banner by stamping the sentiment in pieces to make it long rather than a square.


Supply list:
Unity December KOM {...filled with love}
Twinery Maraschino twine
SU Basic Black ink
Studio G grey ink
Wilton doily


Thursday, June 16, 2011

Happy Birthday barn card

For Wee Memories Challenge #59 which is Anything Goes!

I made this for our cutie pie friend Charlie's 1st birthday which was a farm animal-themed party:
 My first banner:


 The inside:
That Create a Critter cartridge got a workout on this card!


HAPPY BIRTHDAY baby Charlie!!!!!!
Too bad I didn't think of photographing the cute matching envelope : (